Calculating the cost of an item can become complex, especially when it involves various expenses associated with its shipment or transportation. It is essential to accurately incorporate these additional costs, including freight, duties, and related expenses, into the item’s actual cost to ensure precision in costing and optimal realization of profits. Microsoft D365 Finance and Supply Chain offers a sophisticated module known as Landed Cost to streamline and enhance the efficiency of this cost calculation process.
Within Dynamics 365 Finance and Supply Chain Management, the Landed Cost module enables users to define the types of costs associated with an item through the “Cost Code Type” feature. This functionality enables users to define multiple types of customized costs for allocation to an item.
So, this discussion focuses on the defining of cost type codes within the Landed Cost module and their utilization in the Auto Cost feature for the precise allocation of costs to items.
Pre-requisites of using Landed cost in D365 Finance and Supply Chain:
In order to use “Landed Cost” module in Microsoft Dynamics 365 Finance and Supply Chain you have to first enable it from Feature Management in order to do so follow these steps.
- Navigate to Feature Management Workspace.
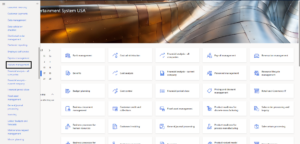
- In “All” tab search for Landed Cost.
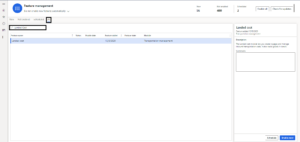
- Click “Enable now”.
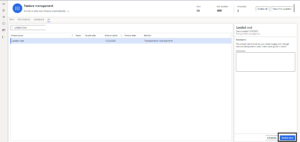
- After that you should be able to navigate to “Landed Cost” in your module list.
Step-by-step process:
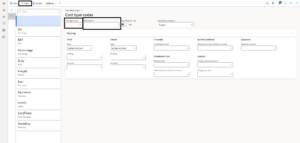
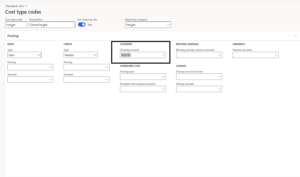
- To create a new cost type code, Navigate to Landed Cost > Costing Setup > Cost type codes.
- Click on new button and define Cost type code and description accordingly.
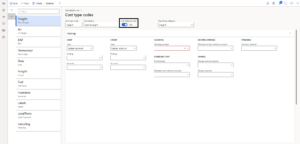
- Toggle on the “Use Shipping Rate” option, as this will activate the application of exchange rates for shipments in multiple currencies, utilizing the exchange rate settings from your landed cost parameters.
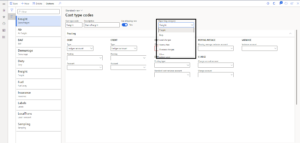
- Select a relevant reporting category from default reporting category dropdown.
- After that define posting of your cost type code in my case, I want to add the freight cost in Item so I will select item in debit and will credit the vendor account.
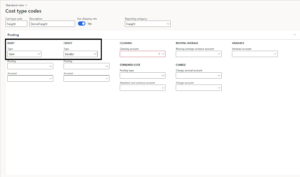
- Afterward, choose a clearing account; this selection will specify the main account to which you intend to add a balance once the transactions are posted.
How to use Cost type code
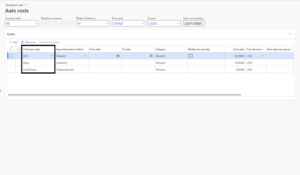
Once you create the cost type code, utilize them in the “Auto Cost” feature to automatically allocate the cost to an item. You can also define specific thresholds for determining when and how to allocate the cost to an item.
Like in the below picture you can see it is defined that on 40’FCL container traveling from CNNGB(Ningbo China) to USDAL(Dallas USA) freight cost is allocated according to percentage which is 30% while duty is allocated 10% percent of freight cost and Local Transaction cost is 0.
To check the cost allocated on an Item you can click on “Cost Inquiry” under a general action pane on your voyage form.
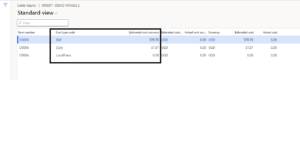
Here the actual cost of my PO was 1929.00 USD and the BAF (Freight) Cost is 30% of 1929.00 USD which is 578.70 USD, and the Duty is 10% of BAF which is 57.87.
This is how you can use Cost type codes to allocate cost on your PO and streamline your inbound and outbound transaction costs effectively.
Thank You!